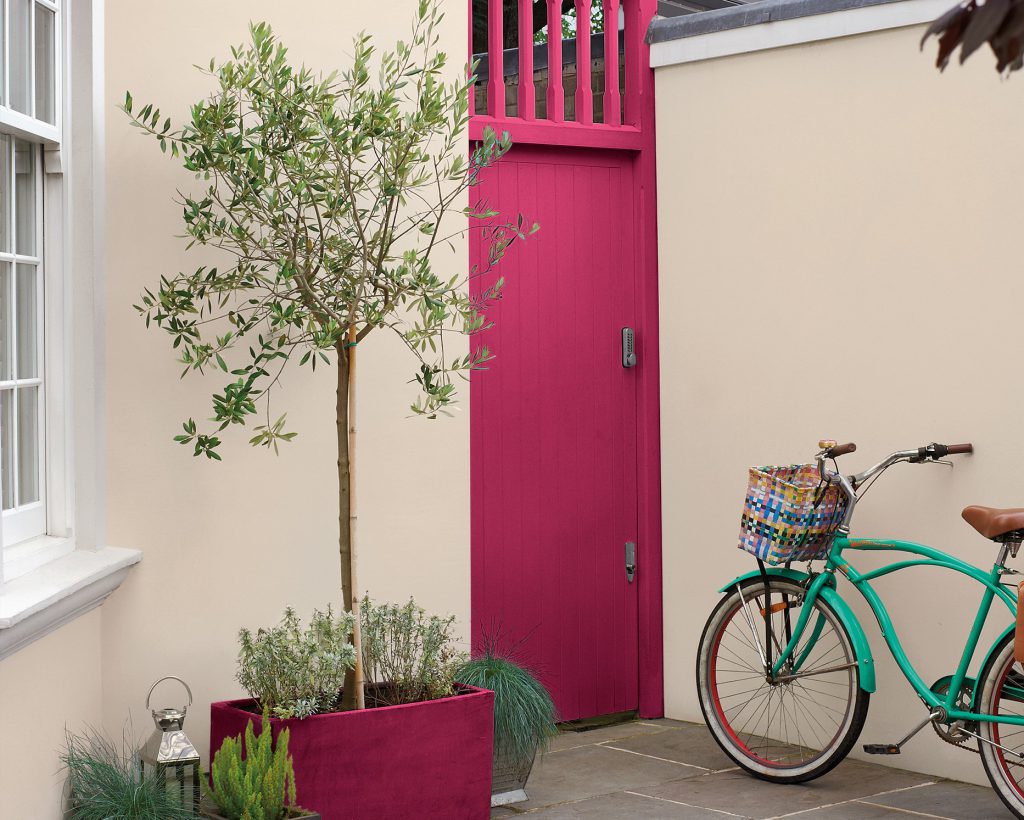
We hope you are enjoying our new and exclusive monthly members newsletter GET THE EDGE which launched in April. As part of this, we have been talking to some of our members to find out more about the challenges you face on a day to day basis. This month Oisin Butler has shared his personal tips on how he gets the most out of Dulux Exterior Paints. If you would like to share any of your decorating tips, we would love to hear from you! Details on how to contact us can be found at the bottom of this page!
Getting the most from Dulux exterior paints
By Professional painter, Oisin Butler – Oisin butler Ltd, oisinbutler.ie
Dulux is probably one of the best known paints in Ireland and the go to paint for professional painters and DIY painters alike. So with summertime approaching, I have put together a few tips to share that I find help get a sharper, longer lasting finish when painting outside.
1.Proper prior preparation prevents poor performance!
In a nutshell, preparation is key. Whatever the surface you plan to paint, you will need to make sure it’s clean, dry & sound. Taking a shortcut and painting straight over dirt or grime will pretty much guarantee that the paint fails.
Exterior painting – get all your ducks in a row
Like any other painting job, the first thing you need to do is plan out what you will need. If painting the exterior of a customer’s house for example, it’s best to take a walk around and see what needs to be done. Start at the top and work your way down, front, back and sides. Usually with a standard house, I would recommend to start with fascia & soffit, walls, windows, window sills, doors & plinth. Assuming your customer already has their colours picked out, then all you need to do now is figure out the quantities of paint needed. I recommend getting a bit of everything that’s required but don’t get too much!

Before you start painting you will need to take care of preparation. Every surface you plan to paint will need to be prepared to some degree.
Here’s a list of the types of standard preparation needed for certain areas:
•Walls – fungicidal wash is usually needed. Loose paint should be scrapped away, and any bare areas of masonry will most likely need a stabilising solution. If you are unsure if any area needs to be stabilised, then just rub your hand across the wall. If the wall is chalky at all it will leave a chalky mark on the palm of your hand, this means it needs to be stabilised. Dulux have a great solvent-based stabiliser that will take care of this. Just make sure the area to be stabilised is dry first! Best to leave the stabiliser for a day before painting over.
•Fascia & soffit, windows, doors, frames and any other types of woodwork – first thing you need to do is give the old paintwork a quick clean. If the paintwork isn’t clean, then when you start sanding it you’ll just be driving dirt into the surface and clogging up your sandpaper. You can use sugar soap or even just methylated spirits on a clean rag. When the surface is clean you should then sand off any loose paint and generally sand off the sheen of the old paint, this will help the new paint to get a good grip on the surface.
•Window sills – these can be either finished in a gloss paint or an emulsion. If finished in a gloss then treat them as woodwork when preparing, otherwise treat the window sills as you would the walls.

2.Time To Paint
When all your surfaces are prepared then it’s time to get set up for painting! Some things to keep in mind…
•You should use drop sheets or paint sheets to cover the ground around the area you are painting.
•If there are cars in the general area, you should either move them or throw some plastic sheets over to protect them from over-spray.Windows can also be covered with plastic.
•PVC downpipes should be wrapped with masking paper.
•Have a look around for anything else that needs to be protected, it’s easier to spend time at the beginning making sure everything is covered than it is at the end trying to scrub paint off something that shouldn’t be painted!
When painting – start at the top and work down:
•Always start with the fascia & soffit. I usually use Dulux oil-based undercoat & mixed to the colour of the finish coat. It helps to add a little bit of white spirits to give it a bit more flow (. 5% white spirits should be fine).
•When painting the walls with Weathersheild, it helps to add a very small amount of water, especially if it’s a warm day, this will stop it drying to quickly and give a better flow. If you are painting over new plaster then add about 10% water to the first coat. If painting over new pebble dash, then you need to add more water to the first coat and about 10% for the following coats.
•For the finish coat on exterior woodwork, I would recommend you to use Dulux oil-based gloss where oil-based gloss has been used in the past. If the previous coating was water-based, then it would be better to stick with water-based gloss again. For a longer lasting finish it’s best to use gloss.
Dulux Weathersheild is a great paint to use, it has built in biocides to reduce the growth of algae and it has a very slight sheen that helps prevent the build-up of dirt. It also dries quite quickly which is great if there’s rain on the way, and there’s usually rain on the way!.
Always important to focus on the preparation, then you are guaranteed to get a great long-lasting finish!
By Professional painter, Oisin Butler – Oisin butler Ltd, oisinbutler.ie
Whenever you need information or advice on Dulux products, talk to the people at Dulux Trade – we’ll be more than happy to help! Call 021 422 0222 or email us at marketing@dulux.ie
If you would like to share any of your decorating tips, please email info@duluxtradepoints.ie. We would love to hear from you!
